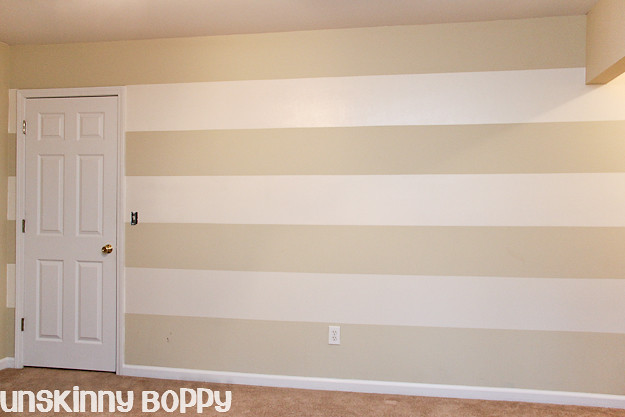
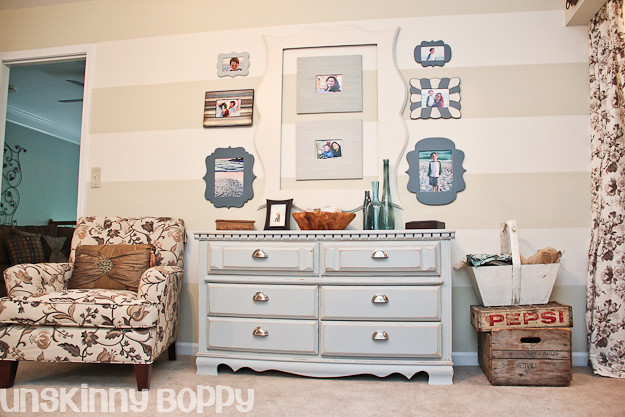
After seeing my friend Dusty’s striped half bath and the stripes that my friend Allison painted in her foyer, then all of us painting stripes on the wall in Natalie’s nursery and THEN drooling over all the beautiful striped walls that I’ve pinned lately, I decided that I needed some stripes, too. So, without further ado, lemme show you my new striped office walls! Gah, I’m such a follower.
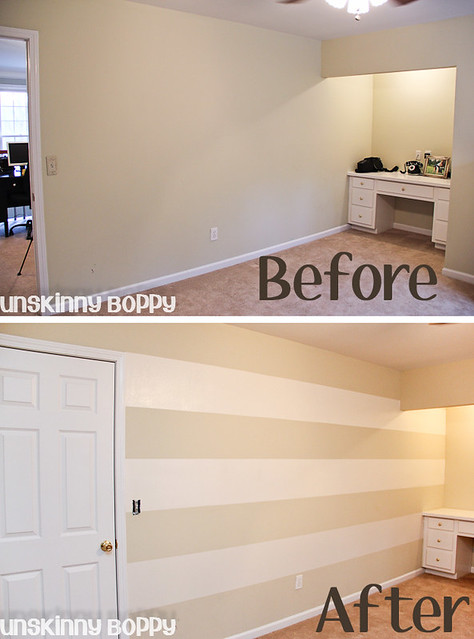
This whole project took me about three hours to complete with the help of my tall husband. It was so easy I wished I had followed done it sooner.

But when it comes to blogging about my stripes, I won’t tell you exactly how to do it. There are tons of tutorials on how to paint stripes, and it’s pretty much all common sense anyway. What I want to do instead is tell you all my lazy shortcuts to get the job done as fast as possible! That way you can get onto more important things in life, like finishing off your Valentine’s candy while blogging about your new striped walls!
So, here are my best tips on how to make things fast and easy when painting stripes on the wall. I think most of these tips would apply if you were painting chevron stripes on the wall, too.
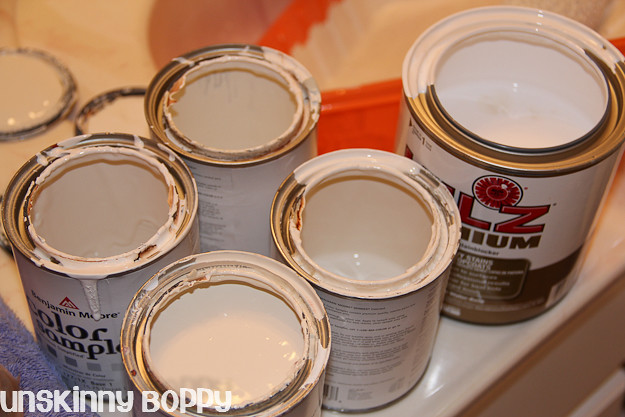
1. Use whatcha got. In more ways than one. If you happen to have a bunch of extra paint samples lying around in your basement like me, then use them instead of buying more paint. This saves you a trip to the store, not to mention the cost factor. And, you know, the time it takes to get out of your pajamas to go out in public. As I’ve mentioned before, I have oodles of paint samples in my house.
For my white stripes I poured a bunch of the leftover white-ish paint from my living room fiasco into a Tupperware bowl…
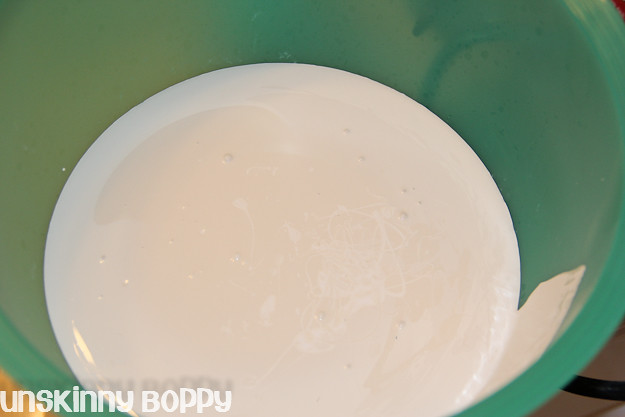
…and danced around the room shaking it for a minute or so until it was all mixed together. Sure I had to wash the bowl later, but that was easier than putting on real pants and going to the store for new paint. It’s all about convenience here, people.
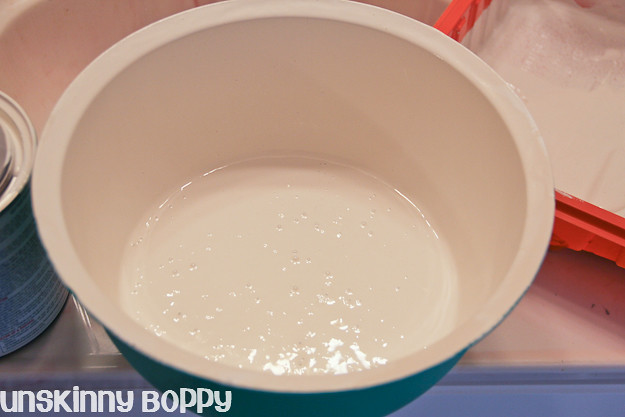
If you do this, just be sure to mix enough paint to cover all of your stripes (plus touch-ups!) because you will NEVER get that paint color to match again.
Also, use your existing paint color as the base layer of paint. Unless it’s something really hideous, you can probably find a complementary color to go with your existing paint. The stripes are going to change the entire look of the wall anyway. Now, if you have plenty of time and you hate your current paint, then you might want to repaint the whole wall and then paint stripes on top. But if you have a good base paint color that isn’t too scuffed, use it and don’t waste precious time painting everything twice. The only drawback to this method is when you don’t have a can of your original paint. The previous owners painted my room so I have no extra paint for touchups. I solved that problem by wiping up any smudges immediately before they dried. Keep a wet paper towel nearby to swipe off the paint that might creep over the tape edge. Or use thicker tape and don’t get sloppy. For this project I used ScotchBlue Painter’s Tape, but a lot of folks prefer Frogtape, which is a little more expensive. It’s your call. Just use a good painter’s tape.
2. Remember lucky number seven. And other odd numbers. Here’s what I found in all my stripe painting experience–aim to have an odd number of horizontal stripes on your wall. To decide the width of your stripes, measure the total height of the wall from the ceiling to the base molding and divide by seven. If you want thicker stripes, divide by five. If you want skinny stripes divide by nine or more. Here is why: If you follow my advice in rule #1, then you can leave your existing paint color at the top and the bottom of the wall, and just paint the center stripes without ever touching the majority of your trim! Besides, groupings of odd numbers are always good design.
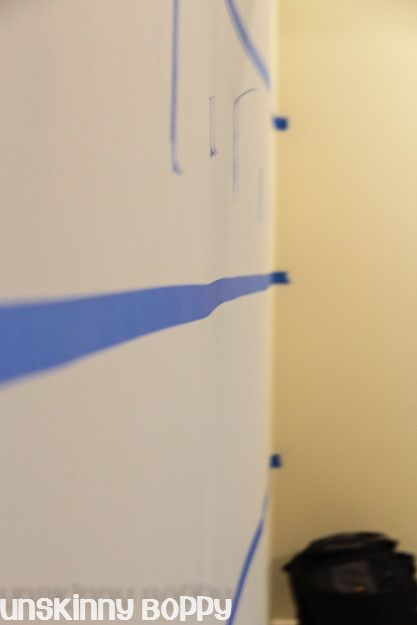
If you are a Captain Shakyhand like me, this tip is the biggest time saver of them all. The less cutting-in you have to do, the better. This is all the initial pre-painting that I did because of the way my lines fell on the wall. Seriously. It was a breeze. Notice how I started painting over the edges of the tape with the brush but then I was all “This is gonna take forever. Why am I wasting time on this? Just get to rolling, woman!”
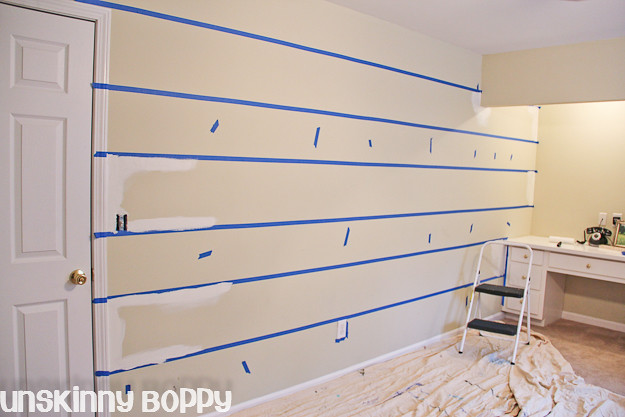
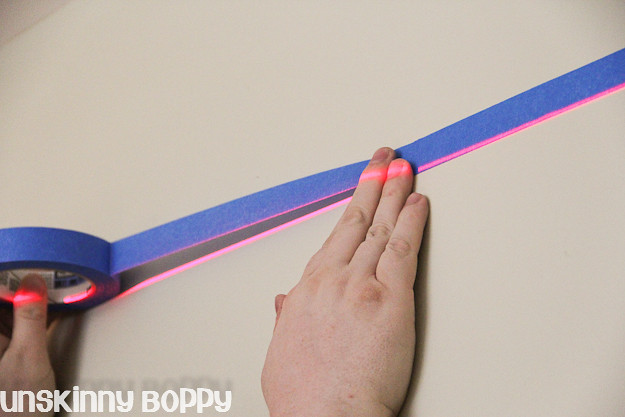
3. Use tape for your hash and reminder marks. Not a pencil. Trust me. A big piece of blue tape is much easier to see than a tiny pencil mark when you are trying to line up levels. When we painted Nat’s room we didn’t do this and wound up having my friend’s Aly and Dusty stand there pointing at the wall forever while I got the laser lined up just right. This time I used tape. It’s not as sexy as Aly and Dusty, but it’s much easier than a pencil mark. Just remember if you used the top or the bottom of the piece of tape for your measurement and stay consistent. To keep track of which stripe won’t get painted, stick a few pieces of tape inside it as reminder markers. This was something we learned on Nat’s wall as well. It helps not confusing which stripe is to be painted and which is to stay the existing color. Also, remember that you want the stripes that will get painted to be full width so put the tape inside the stripes that will not get painted.
4. Measure from the top down. When you are putting your tape hash marks on the wall for your stripes, always measure from the ceiling down. Put the metal end of the tape measure at the ceiling and bend the tape as you go down the wall, holding it in place with one hand and pulling more tape out with the other. This accomplishes two things. First, you can actually read the number on the tape accurately since it’s not up at the ceiling. Duh.

Secondly, if you measure your stripe increments from the ceiling down you can leave any “leftover” millimeters or inches down at the bottom of the wall and have a slightly thicker base stripe. Why waste time bothering with all the math to get each stripe exactly right down to the eight of an inch when you can just round off all the excess to the bottom stripe? Save all that brain power for your next game of Words With Friends and make it easy on yourself.

Nobody will notice that the stripes aren’t all the same width. Especially if you’re putting furniture in front of the bottom part of the all anyway. It probably goes without saying, but you do need to consider your moldings. If you have crown molding (I didn’t in this room) measure from the bottom of the molding to the top of the base trim. That way you don’t have one skinny stripe at the top and one fat stripe at the bottom.
5. Invest in good masking tape (and a few other optional items). You want to use tape that sticks to the wall really well so your colors don’t bleed together too much and get all wiggly on the edges. You don’t want tape that will leave sticky goo on your walls or rip the sheetrock off in the removal process. I like the blue painters tape from 3M, and I’ve used Frogtape with success, as well. There is a reason it’s called “painter’s tape”. Make life easier and use it.
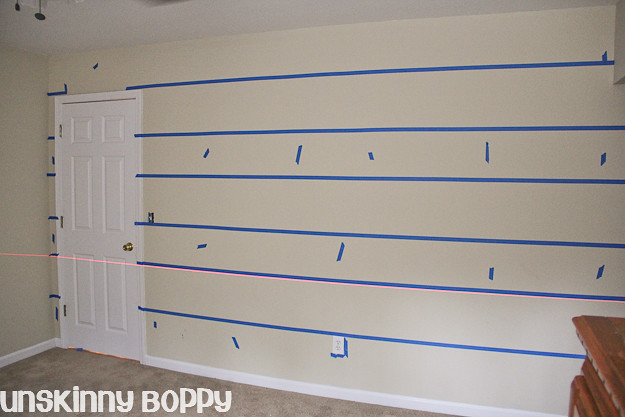
Another thing that makes painting stripes easier? A laser level. On a tripod.
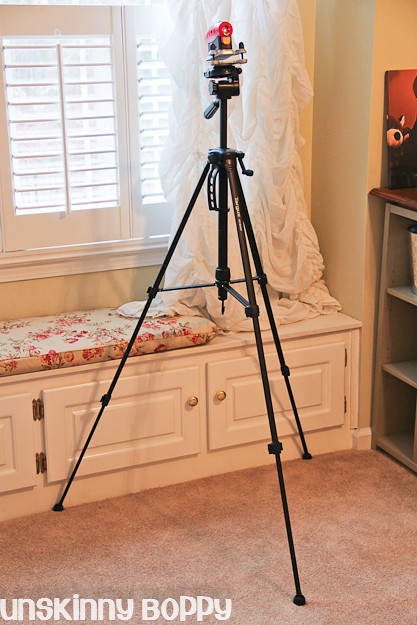
I know these two items are not just lying around everyone’s garage, but if you have them, use them. Once you learn that the laser level has screws for “precision adjustments” it’s much faster to tape along the laser line than using a hand held level on the wall.
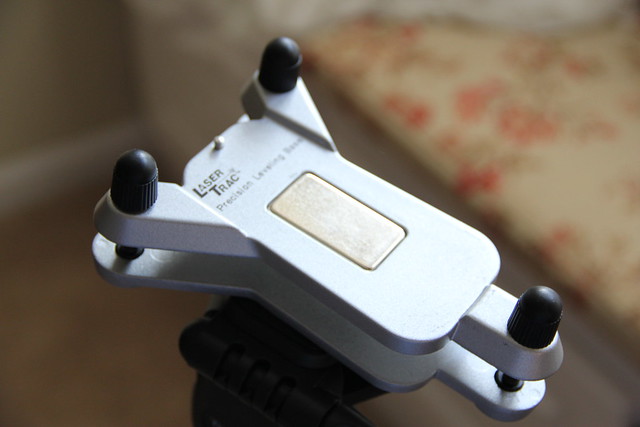
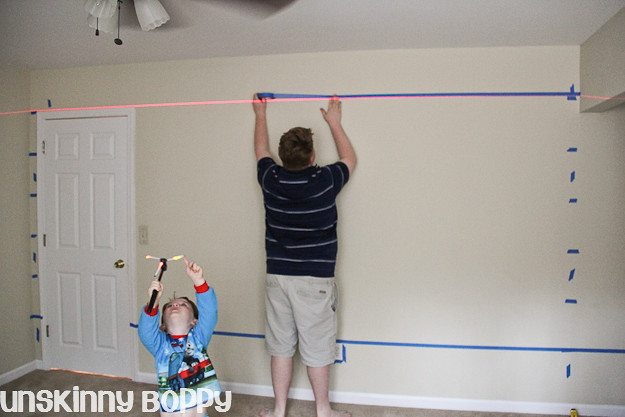
I didn’t realize there were “precision adjustments screws” on the laser when we painted Nat’s walls so I wasted a lot of time trying to move the tripod up and down to get it just right. This time around I just gave each screw a little twist and matched it up to the hash mark and we were good to go. If you have a husband, use him too. Or a friend. Having a helper will make things go MUCH faster. With another person holding the roll of tape both your hands will be free to pull the tape taut and smooth it out straighter. Or, just stand back and take photos while the other person does it all for you and your cute kid entertains you in the middle of the room.
6. Don’t watch paint dry. Get the tape off while the paint is still wet so your tape doesn’t get glued to the wall. That could add a lot of headache to this process. At the same time, don’t remove your tape too soon and realize that you missed a spot that needed a touch up. As soon as the second coat went on and I was sure the whole stripe was 100% covered I removed the tape. Don’t dilly dally and let your tape get too stuck or you might regret it.
7. Stay subtle. Even with good tape, bleed-through squiggle is bound to happen. Stark contrasting paints show every little screw up. Colors that are just a few shades from your base color are more forgiving. The mistakes are still there, you just won’t notice them as much. If you want to save time, it’s better to go with two colors that are close on the spectrum to each other just so you don’t have to go back and touchup.
8. Lower your expectations. To elaborate further on that last tip… don’t expect perfection. Your walls are probably not perfectly straight or even, so don’t stress out too much about getting your tape PERFECTLY LEVEL. If you fudge a quarter of an inch or so in either direction nobody will ever notice. I discovered that my wall had two big humps in it that made the tape look really wonky from the side angle. Check it:
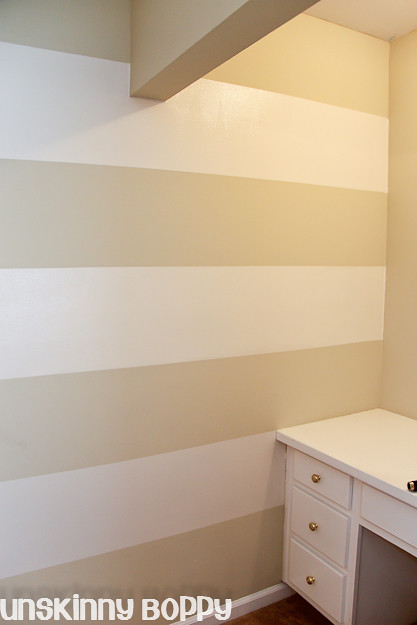
But once it was painted, it looked just fine. You’d never be able to tell that my crooked wall was so hump-back, hump-back. See?
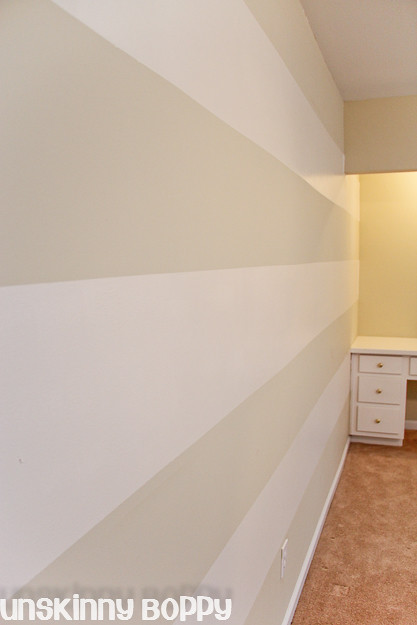
That’s close enough to perfect for me. Don’t sweat the small stuff and all that.
And finally, the last tip I have for making things faster when painting stripes: Use disposable paint trays and cheap rollers. If you don’t mind sparing a few bucks, toss them in the trash after you’re finished. Life is too short to spend it scrubbing paint out of used rollers.
So there you go!
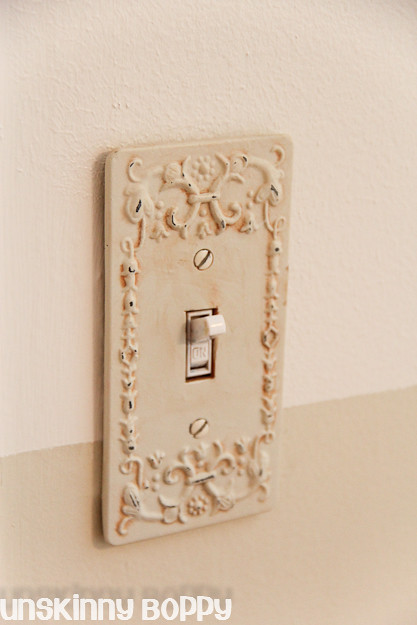
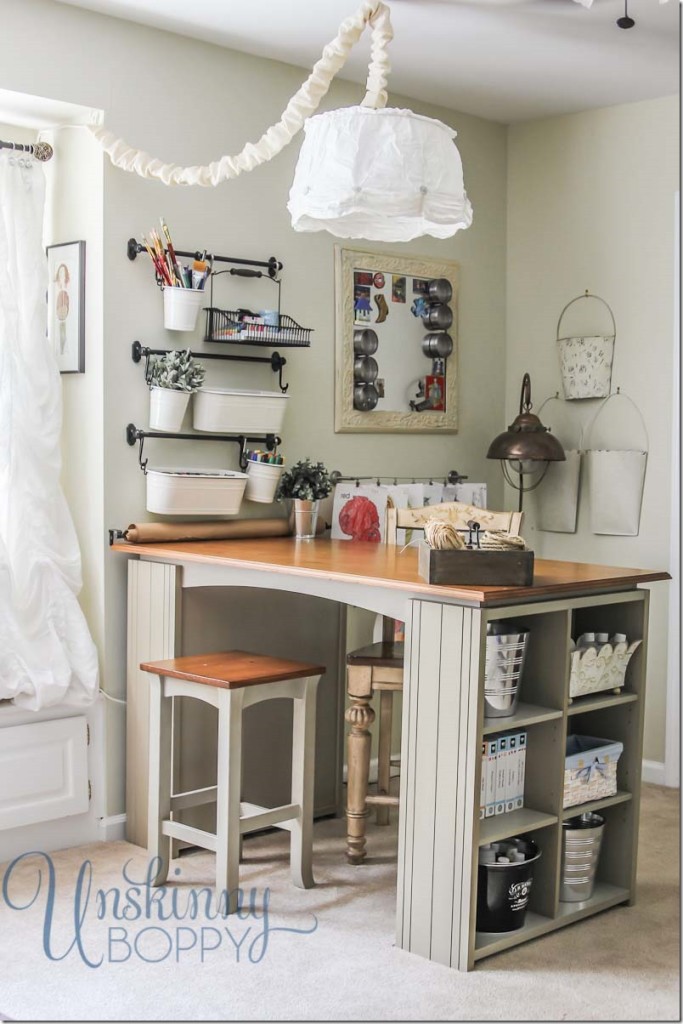
Those are my tips for getting your striped walls painted as quickly as possible without sacrificing any of the prettiness factor. And speaking of pretty, I’ll end this diy tutorial with a picture of my pretty light switch cover. I bought it years ago, but I love how it matches the paint in this room so well.
I have big plans for the room now that it’s got some flair. Stay tuned for lots more DIY projects to come inside this space, plus some cool funky frames that rival the Organic Bloom but cheaper!

Good luck with your stripes! I hope I’ve saved you a little bit of hassle if you decide to become a stripe follower too. If you’ve painted stripes before, what tips would you recommend for making the process go smoother?
To see the FULL REVEAL of my craft room, click here!
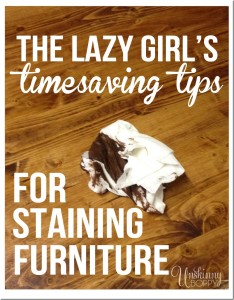
Click here to see my best furniture painting tips!
For more craft room organization updates, click here:
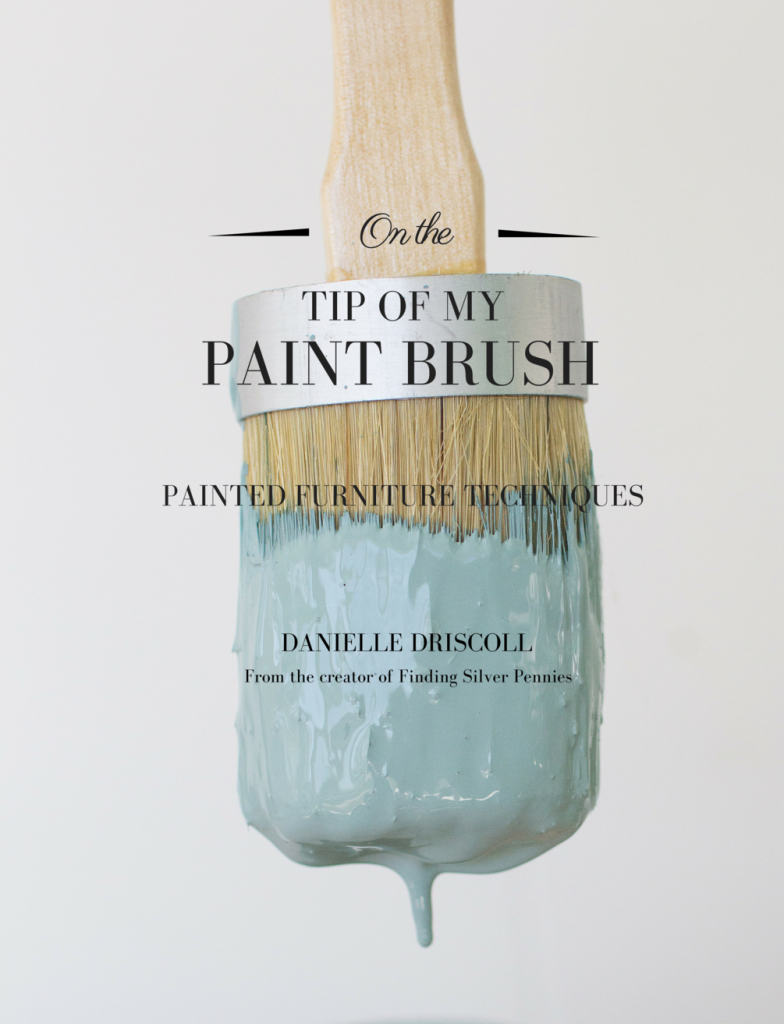
Want to learn more about painting furniture?
My friend Danielle wrote an AMAZING e-book all about it!
CLICK HERE TO BUY (affiliate link)
“
Credit – Beth Bryan