When it came time to decorate my Christmas mantel this year, there was absolutely no doubt about what I wanted to create for it. Remember my late summer mantel post when I showed y’all the scrap wood star that everyone raved about? I just couldn’t get that pretty little star out of my mind, so I decided to recreate it in a BIG way for my Christmas mantel this year.
Here is my version of the scrap wood star… standing 42 inches high, looking totally chippy and marvelous on my mantel. The size and scale of it makes such a huge impact! I grin and do a little happy dance every time I see it. What a statement piece this turned out to be.

I am so in love with it… the colors, the texture, and the fact that it was SO simple to DIY with the help of my husband. Come along and let me show you how we created this one-of-a-kind wall hanging by hand in just a few simple steps.

I’ve created this sketch in AutoCAD to show you the steps we took to cut out the star template. First we cut out a template using a large sheet of foam core, then used the template to trace out the star pattern onto a sheet of wood. You could use paper or even a cardboard box to create the template, as long as it starts out about 48” square you should be fine.

See how simple that is? In case you are a more visual learner, let me show you the step-by-step process in pictures. I picked up a 4’ x 8’ sheet of Luan at my local True Value Hardware, and the folks were nice enough to cut it in half for me right in the store. That gave us two 48” square pieces to use. You could use Luan, plywood, or MDF– just make sure it’s sturdy enough to support some weight without bending or cracking. You can check to see if your local True Value store carries lumber here.
Once he had the foam core template created, he found the center line of a 48” piece of wood and marked it with a straight edge.

He lined up the bottom points of the template along the bottom edge of the wood and matched the center points along the center line that was already marked.

With the help of a very cute little helper who held the template steady, my husband traced all the way around the entire template.

Then, he simply turned the template 90 degrees and lined up the bottom corner of the template with the bottom right hand triangular corner that he had already traced. Then he traced all around the template once again.

This gave us a nearly perfect five-pointed star shape.

Using a cordless circular saw, we cut out the star shaped wooden backer. Don’t forget to wear eye protection during this part of the process!

After that, I arranged the pieces of scrap wood in a pattern that I liked right on top of the wooden star backerboard. I found all of this chippy old wood at a local architectural salvage store called The Depot Architectural Antiques. I hit the jackpot with all of those beautiful weathered grey, blue and green colors. To get a nice pattern we cut a few of the planks into several pieces so they would show up more than once inside the star.

Next step? Glue it all down! We used a heavy duty construction adhesive like Liquid Nails inside of a caulk gun to apply the glue.

We clamped down some of the smaller pieces to apply pressure and hold them in place, then we let the whole thing dry overnight. Once all the glue was dry, we flipped the whole thing over and cut off the excess wood using the circular saw again. He followed the wooden star template to trim the excess, being careful not to cut the wooden backer board.

For the tight inner corner cuts, he abandoned the circular saw and used this folding jab saw to cut them by hand.

Some of the smaller wooden pieces came loose during sawing, so we added more glue and clamped them back down again for a few more hours.

We chose to leave the cut edges exposed and unfinished since the scrap wood was already so worn and rustic. You can see here that a lot of the beadboard we chose was tongue-in-groove, which we made sure to join together if possible to get a tighter joint. Some of the pieces were so old and rotted that they broke off during construction. I didn’t mind, though- it just gives it more character!

I absolutely ADORE the way this star turned out. It is one of my top five favorite DIY projects that we’ve ever created. 
My mantel is having a holly jolly, rustic and weathered Christmas. I hope yours will, too, after seeing how simple this fun DIY project turned out to be.

If you enjoyed this post, please take the full tour of my 2013 holiday Housewalk Christmas decorations.
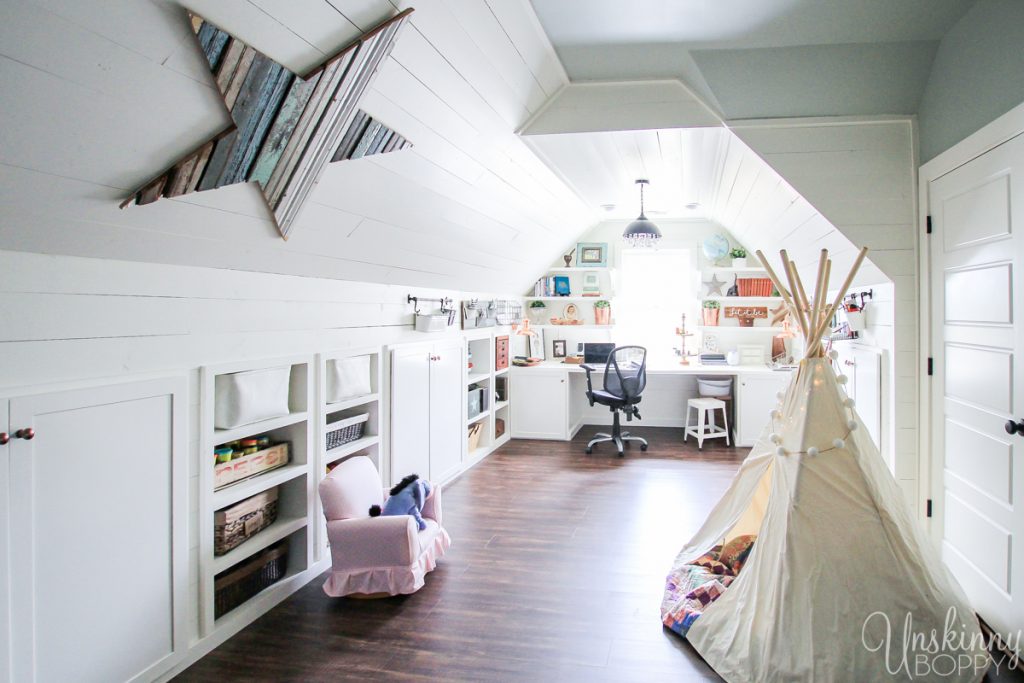
2017 update- come see where the giant star is hanging out now! Click here to see the attic tour.
Credit – Beth Bryan